michaelshimeles
Install Before And After
Pick your agent. Every command is ready to paste.
npx skills add michaelshimeles/rstack --skill before-and-afterThe open skills CLI detects your agents (Claude Code, Cursor, Codex and 70+ more) and installs to the right folder. Add -g to install globally.
01
Install it
Run the command above, or upload the folder in Claude.
02
Ask naturally
Describe the task. Your agent loads before-and-after when the request matches its description.
03
Name it if needed
If it does not trigger, say “use the before-and-after skill”. In Codex, type $before-and-after.
The skill itself
SKILL.md
Before-After Screenshot Skill
Package:
@vercel/before-and-afterNever usebefore-and-after(wrong package).
Agent Behavior Rules
DO NOT:
- Switch branches or stash another task's changes. Use an isolated worktree for any baseline server already authorized by the task.
- Use
--fullunless user explicitly asks for full page / full scroll capture
DO:
- Use
--markdownwhen user wants PR integration or markdown output - Use
--mobile/--tabletif user mentions phone, mobile, tablet, responsive, etc. - Reuse before captures, baseline URLs, and revision information already established in the task. Confirm that they show the relevant behavior and match the after capture's viewport and starting state.
- Treat the current state as after only when the task context establishes it. If the before state remains ambiguous after checking available context, ask for the missing baseline. Do not ask again for a URL when a valid image pair or earlier baseline is already available.
Capture and delivery
- Use an installed
before-and-afterCLI ornpx @vercel/before-and-after. - For remote URLs, check access when needed. A 401/403 indicates protection. Existing image pairs do not require a URL or deployment access check.
- Capture missing images with
before-and-after "<before-url>" "<after-url>". - When the task calls for uploaded evidence or PR markdown, run
before-and-after before.png after.png --markdownonce. For local capture requests, deliver the files without uploading them. - Append the markdown to the PR when PR integration is part of the task.
Resolve bundled script paths relative to this skill's directory, not the project working directory. Reuse earlier evidence instead of recapturing it.
Quick Reference
# Basic usage
before-and-after <before-url> <after-url>

# With selector
before-and-after url1 url2 ".hero-section"

# Different selectors for each
before-and-after url1 url2 ".old-card" ".new-card"

# Viewports
before-and-after url1 url2 --mobile    # 375x812
before-and-after url1 url2 --tablet    # 768x1024
before-and-after url1 url2 --full      # full scroll

# From existing images
before-and-after before.png after.png --markdown

# Via npx (use full package name!)
npx @vercel/before-and-after url1 url2
| Flag | Description |
|---|---|
-m, --mobile |
Mobile viewport (375x812) |
-t, --tablet |
Tablet viewport (768x1024) |
--size <WxH> |
Custom viewport |
-f, --full |
Full scrollable page |
-s, --selector |
CSS selector to capture |
-o, --output |
Output directory (default: ~/Downloads) |
--markdown |
Upload images & output markdown table |
--upload-url <url> |
Custom upload endpoint (default: 0x0.st) |
Image Upload
# Default (0x0.st - no signup needed)
./scripts/upload-and-copy.sh before.png after.png --markdown
Vercel Deployment Protection
If .vercel.app URL returns 401/403:
- Check Vercel CLI:
which vercel && vercel whoami - If available:
vercel inspect <url>to get bypass token - If not: Tell user to provide bypass token, take manual screenshots, or disable protection
PR Integration
# Check for gh CLI
which gh

# Get current PR
gh pr view --json number,body

# Write the existing body plus the comparison to a temporary file, then:
gh pr edit <number> --body-file /path/to/pr-body.md
If no gh CLI: output markdown and tell user to paste manually.
Error Reference
| Error | Fix |
|---|---|
command not found |
npm install -g @vercel/before-and-after |
could not determine executable |
Use npx @vercel/before-and-after (full name) |
| 401/403 on .vercel.app | See Vercel protection section |
| Element not found | Verify selector exists on page |
Tips for Before And After
- • Start a fresh session after installing so your agent picks up the new skill.
- • This skill ships scripts. Read them before the first run, and run it in a project without secrets first.
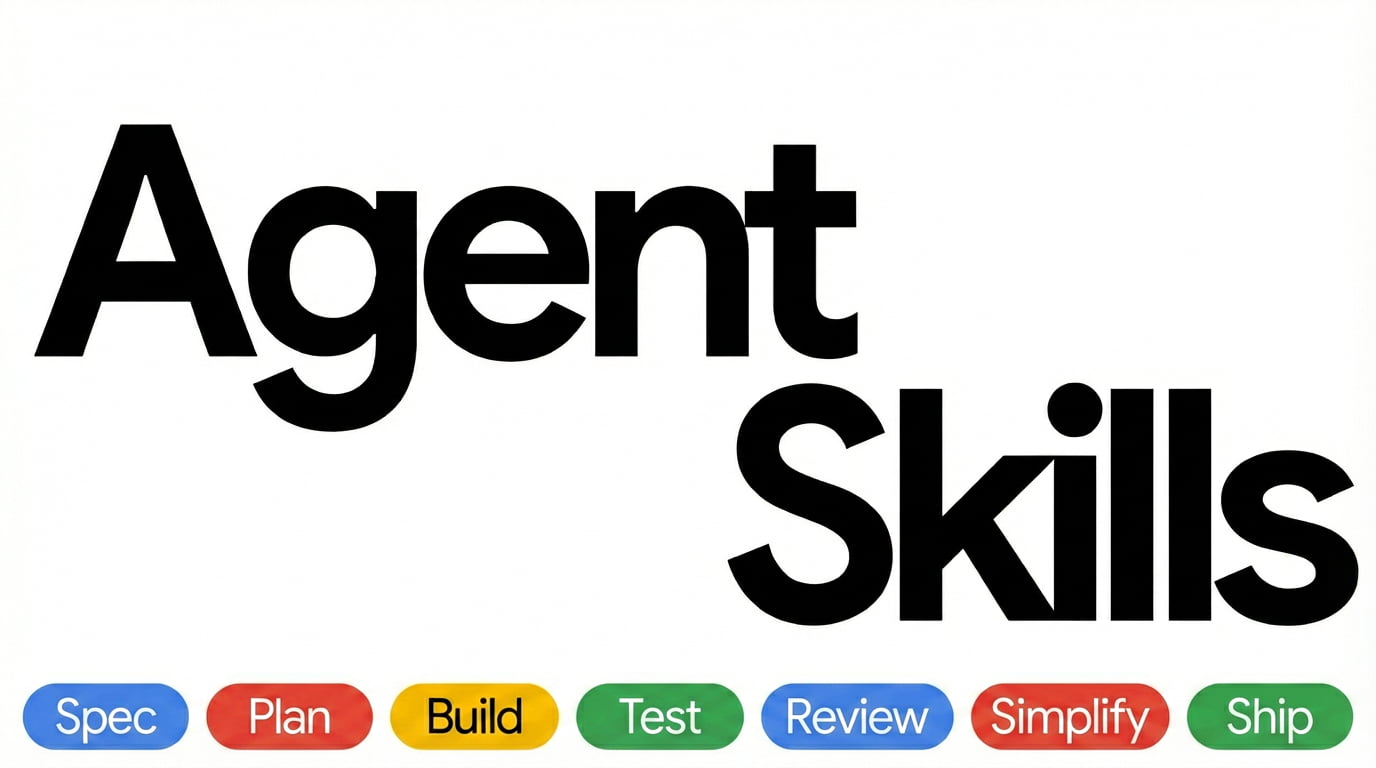
- • It is part of a pack with 7 skills. Install only the ones you need with --skill to keep triggers precise.
- • If two skills overlap, mention the one you want by name.
Questions about Before And After
What does the Before And After skill do?
Captures before/after screenshots of web pages or elements for visual comparison. Use when user says "take before and after", "screenshot comparison", "visual diff", "PR screenshots", "compare old and new", or needs to document UI changes. Accepts two URLs (file://, http://, https://) or two image paths.
How do I install Before And After?
Run "npx skills add michaelshimeles/rstack --skill before-and-after" in your project. The skills CLI installs it for Claude Code, Cursor, Codex and 70+ other agents. In Claude on the web, upload the skill folder as a ZIP under Customize > Skills.
Does Before And After work in Cursor and Codex?
Yes. Before And After uses the open SKILL.md format, so it works in Claude Code, Claude, Cursor, OpenAI Codex, Gemini CLI, GitHub Copilot and other agents that support agent skills.
Is Before And After free?
Before And After is open source on GitHub. It is free to install; check the license before commercial use.
Who made Before And After?
Before And After is published by michaelshimeles in the michaelshimeles/rstack repository, together with 6 other skills.